Evaluating a fluorescence microscope, should you invest?
Currently, the question of whether a fluorescence microscope should be invested in is not asked by many people, especially when this device is increasingly popular in fields such as scientific research, medical diagnosis and teaching. With fluorescence microscopy, users can observe detailed biological and biochemical properties of specimens after being stained with fluorescent substances, thereby providing important data for analysis. specialized.
Contents
Depending on the intended use and type of specimen, choosing the right fluorescence agent is an important factor to optimize observation results, and is also the reason why many people consider the initial value. characteristics of this type of microscope.
Should a fluorescence microscope be an investment?
1.1. What is the concept of fluorescence microscopy?
For those who don't know, a fluorescence microscope is an optical device that specializes in using fluorescence and phosphorescence to study the properties of inorganic or organic substances. A special feature of this type of glass is the ability to create images through fluorescent light, from simple designs such as epifluorescence microscopes to more advanced lines such as confocal microscopes..
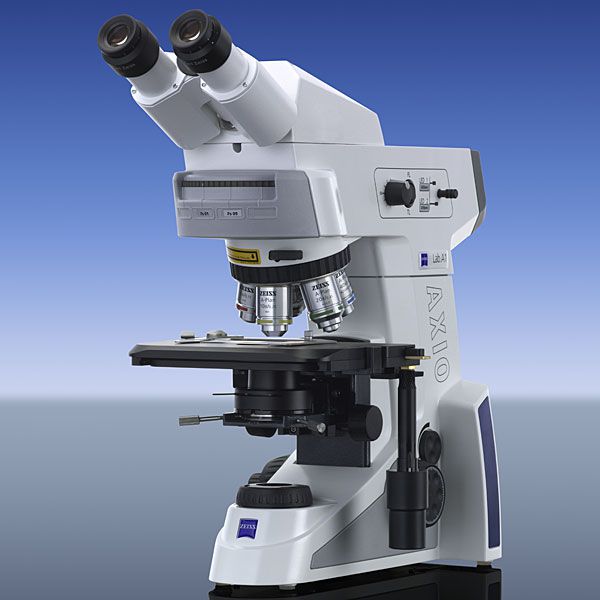
1.2. Structure of a fluorescence microscope
The structure of this device includes many specialized parts, including:
The transmitted light source and fluorescence excitation light source ensure the necessary light supply for the observation process.
The condenser, diaphragm, aperture and bidirectional mirror work together to conduct and process light.
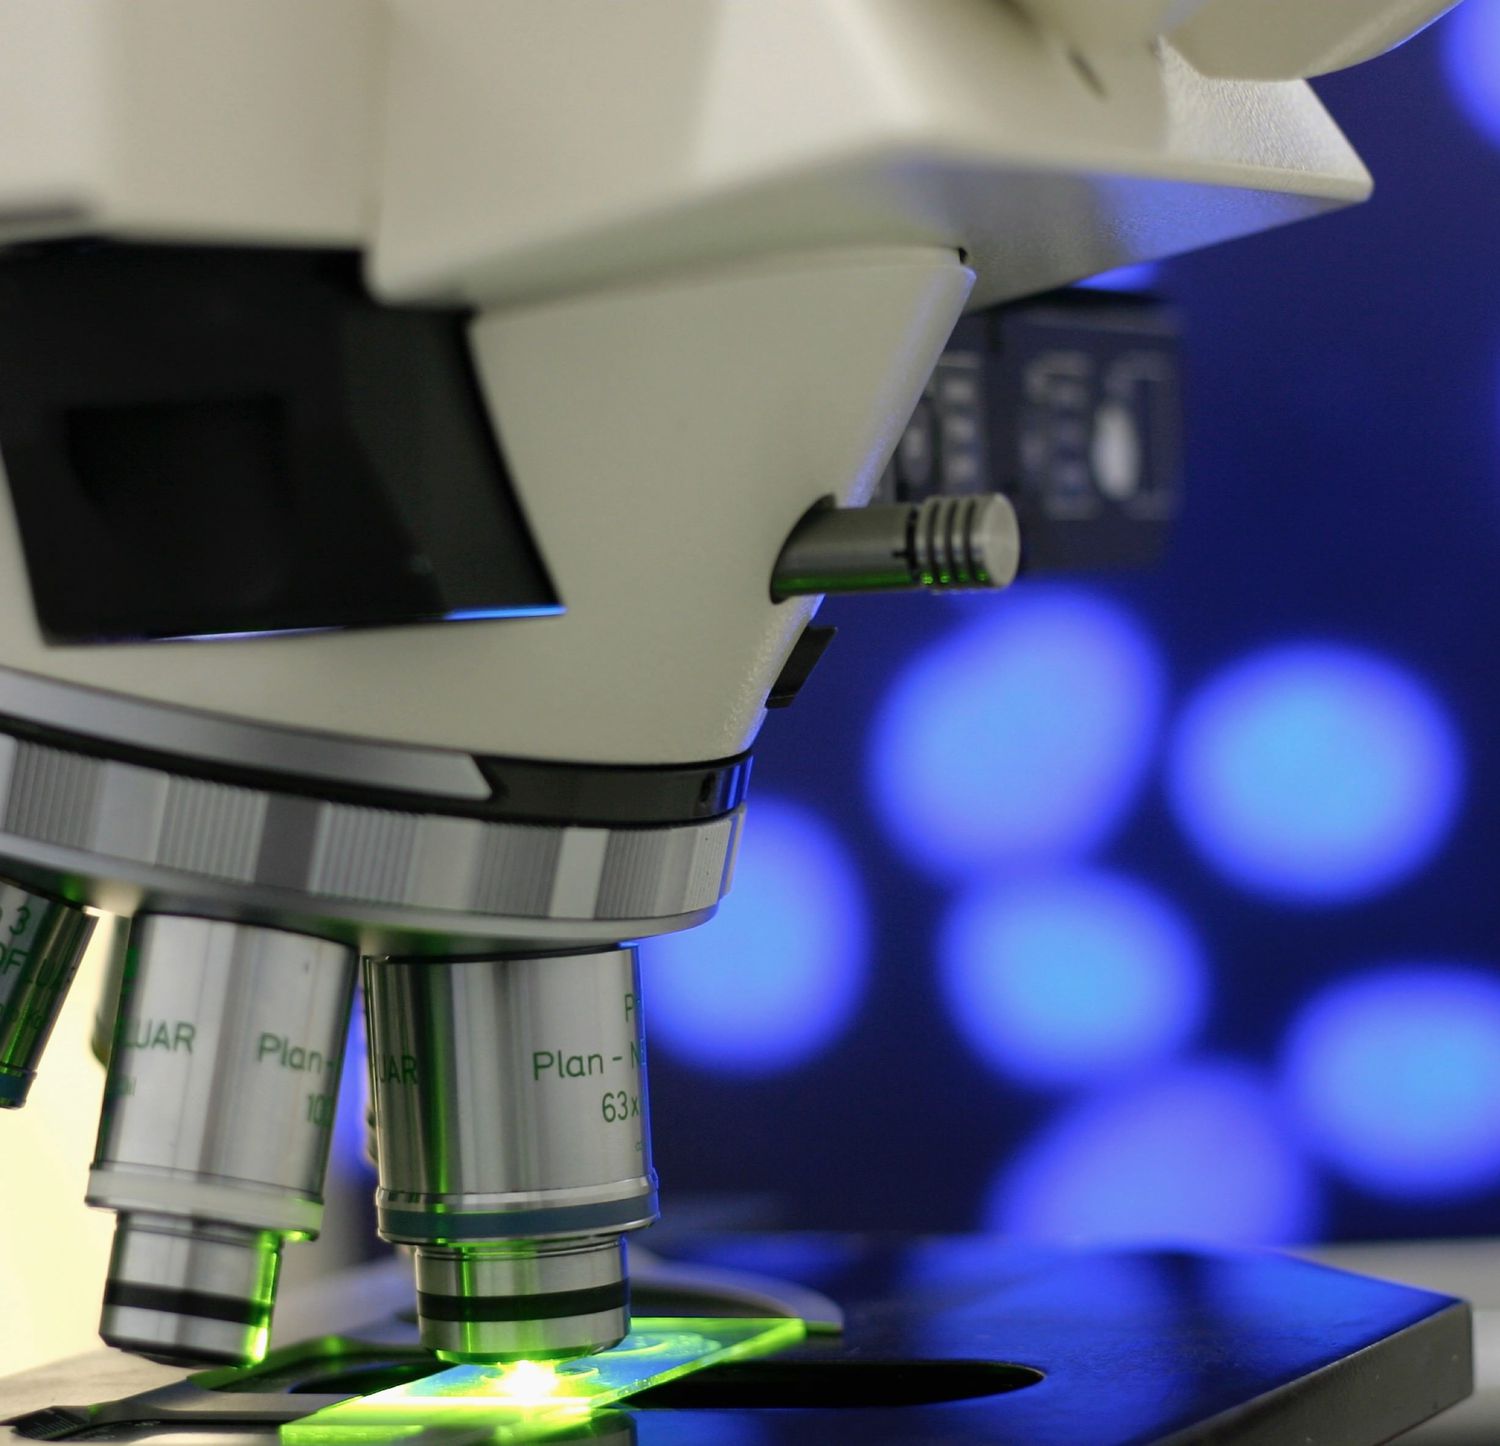
The sample holder, holder controller, objective stage and objectives with different magnifications provide flexibility in observing samples at many levels of detail.
The eyepiece and tube connected to the camera support clear display and recording of fluorescence images.
1.3. Operating principle of fluorescence microscope
The glass works by exciting the molecules in the sample with high-energy, short-wavelength light. This process causes electrons to jump to a higher orbit, then emit fluorescent light when returning to their original state.
The light source from the xenon or mercury lamp will create ultraviolet rays that pass through the filter, reflect at the bidirectional mirror and excite the specimen. The objective lens collects the generated fluorescent light, then passes it through a filter that removes unnecessary light and displays the image through the eyepiece.
Should a fluorescence microscope be an investment? Overall, with the ability to provide detailed, clear information about the structure and properties of a specimen, a fluorescence microscope is a choice worth considering.
Light source and sample used for fluorescence microscopy
2.1. Light source
When it comes to providing light for a fluorescence microscope, many people often think that any light source is suitable. However, reality requires the light source to be high intensity and almost monochromatic, something that conventional lamps such as halogen cannot meet.
In practical applications, four types of light sources are commonly used: xenon arc lamps, mercury vapor lamps with excitation filters, lasers, and high-power LEDs.
Lasers are the top choice for complex glasses such as confocal microscopes or total internal reflection glasses. Meanwhile, lamps such as xenon, mercury and LED are more popular in wide-field fluorescence microscopes due to their versatility and efficiency.
2.2. Sample used
Interestingly, not all specimens can be observed with a fluorescence microscope. The prerequisite is that the sample must be able to fluoresce.
To meet this requirement, scientists often use fluorescent dyes to mark samples. However, there are special cases when the specimen is autofluorescent, making the observation process simpler without requiring any additional processing steps.
No matter what type of light source or sample processing method you choose, they all aim for the same goal: creating the clearest, most detailed images for in-depth research..
What is a fluorescence microscope used for?
When it comes to studying the structure and physiological activity of living cells, the fluorescence microscope is an indispensable tool. With the ability to use fluorescent indicators, this device supports the detection of many important physiological compounds such as calcium, DNA, magnesium, sodium, pH, and enzymes.
Not only that, thanks to specific antibodies that bind to fluorescent molecules, users can easily stain and analyze specific structures in cells, providing detailed information that traditional observation methods cannot provide. otherwise difficult to achieve.
Among the fluorescence microscopes, the epifluorescence type is the most commonly used. This is not only the foundation for many advanced glass designs, but is also widely used in biological research, from basic to advanced.
Những hạn chế khi dùng kính hiển vi huỳnh quang
Dù sở hữu nhiều ưu điểm nổi bật, kính hiển vi huỳnh quang không tránh khỏi một số hạn chế cần cân nhắc.
Tẩy trắng phân tử huỳnh quang: Khi các phân tử này tích tụ hoặc bị chiếu sáng liên tục, quá trình huỳnh quang có thể dẫn đến sự phá hủy hóa học, làm giảm chất lượng hình ảnh.
Nhiễm độc quang học: Ánh sáng có bước sóng ngắn không chỉ làm tổn thương mẫu mà còn kích thích các phản ứng hóa học, tạo ra hiệu ứng quang độc, đặc biệt đối với tế bào sống.
Giới hạn quan sát: Thiết bị này chỉ phù hợp để quan sát các cấu trúc đã được đánh dấu huỳnh quang, khiến phạm vi ứng dụng bị thu hẹp trong một số trường hợp cụ thể.
How to use a fluorescence microscope?
To use a fluorescence microscope effectively, you need to follow some of the following basic preparation and operation steps:
Step 1: Prepare the device
Remove the protective layer on the glass and make sure the device is set to a low magnification level. Next, plug in the power source and turn on the switch to start the device. The mercury lamp takes about 15 minutes to reach optimal brightness, so you need to wait patiently before performing the next steps.
Step 2: Place sample and observe
Place the sample slide on the sample table according to the instructions and secure with clamps. Looking through the eyepiece, use the coarse adjustment knob to raise or lower the sample stage so that the specimen image is within the field of view. Then, use the fine adjustment knob to create the clearest image.
Step 3: Change magnification and filter
When you want to change the objective lens, gently rotate the neck of the objective lens, avoiding direct impact on the objective lenses to avoid damaging the internal structure. For filter changes, do so at low magnification to ensure sample and instrument safety.
Step 4: Take sample photos (if necessary)
If you need to preserve sample images, you can attach a camera eyepiece to the microscope. Images will be saved on the camera's memory or connected storage device.
Step 5: Complete and preserve the device
After use, wait at least 30 minutes before turning off the microscope. Remove the sample slide, turn off the centralized control box and mercury lamp. To protect your device, you should only turn it back on after about half an hour.
Finally, clean the microscope and return it to its original position according to the storage instructions. This helps ensure the device operates stably and prolongs its life.
Notes on using and preserving fluorescence microscopes
To ensure performance and prolong the life of the fluorescence microscope, the following principles must be followed during use and storage:
Note in use
Safety with mercury lamps: Mercury lamps emit strong ultraviolet rays, absolutely do not look directly at the light source to avoid eye damage.
Mercury lamp usage time: Monitor the usage time of the lamp, because if used more than prescribed, the lamp may explode, causing danger.
Limit turning lights on/off: Frequently turning lights on and off will reduce its lifespan. If still in use or someone else needs to use it within 2 hours, leave the light on continuously.
Using microscope oil: When using microscope oil with a low magnification objective, clean it thoroughly after use to avoid damage. You should wipe gently, avoid strong impact.
Note in maintenance and preservation
Glass placement: Glass needs to be placed in a dry, cool place to avoid mold and mildew, affecting the optical system.
Preserving eyepieces and objectives: Eyepieces and objectives should be stored in a sealed box, accompanied by desiccant packages to avoid moisture from blurring or damaging the optical surface.
Turn off the power properly: After use, turn off the power and wait for the light source to cool completely before covering the device.
Cover the glasses: Always use a specialized towel or cloth to protect the glasses from dust and dirt when not in use.
Routine maintenance: Glass optics should be calibrated and maintained according to manufacturer recommendations to ensure accuracy and performance.